
When I got married, I could make a mean chocolate cake.
And nothing else whatsoever.
Travis was the designated family cook and his specialities were breaded pork chops, coconut curry, and scrambled eggs cooked in bacon grease.
But I was delighted by the idea of being an adorable housewife, so I started collecting cookbooks. (Can you believe that there was even a time before Pinterest?)
We signed up for a food co-op, and we would get a mixed box of produce every week. I would go through the box that was half-full of familiar things like bananas and half-full of produce I would never, ever, ever buy. Like brussel sprouts, cauliflower, or non-canned artichokes (you know. Fresh artichokes).
So I would crack open my cookbook and try to learn to cook those things.
Now I regularly buy all those things at the grocery store, and I don't look up recipes for any of them. I just cook. They are familiar and delicious foods that I make often and regularly. It just took me a while to get there.
I've spent the last six years learning how to cook and bake, how to make delicious meals, desserts, and breads. I have compiled a book chockfull of hand-written recipes that I'm not ready to give up. Like, the greatest chocolate chip cookie recipe of all time.
I'm just supposed to start over? Start Googling Gluten-Free Chocolate Chip Cookies and making them until I hit it?
No. I'm not doing that.
So I had to learn how to convert recipes.
And I did. These tips aren't fool-proof, that's true. Your recipes will still be a bit different. But they're a really good starting point if you just can't give up your grandma's Yummy Buttermilk Muffins.
So today I wanted to share some tips and information that I've gathered about baking gluten-free. This doesn't really apply to bread. I still have to learn more about bread (and doughs, like pizza).
But you can certainly apply these principals to quick breads and muffins, cookies and cakes (and donuts).
It comes down to this:
Gluten flours are light, sticky, and fine.
Gluten-free flours are heavy, crumbly, and coarse.
So here's how to fix it:

1. When converting recipes to gluten-free, use extra-large eggs and maybe throw in an extra egg, too.
This helps give your recipes structure and height.
2. Go ahead and double the amount of leavener, too.
That includes yeast, baking soda, and baking powder. Those flours are HEAVY.
3. Did I mention heavy flour? Oh yeah. Do NOT measure your flour by volume ever again. Measure it by weight. ALWAYS. 120g is one regular cup of flour.
So if a regular gluten-filled recipe calls for a cup and a half of flour, DO NOT ADD a cup and a half of gluten-free flour. Your food will be dry and crumbly. Add 180 grams of flour. You'll probably find that it was closer to 1 1/3 or even 1 1/4 cups of gluten-free flour.
4. Let your dough rest before baking.
This helps your flours to absorb some of the liquids, so they aren't so coarse. If you are making quick breads or muffins, keep the resting time to under 30 minutes (otherwise your baked goods will be too dense because your leavener already did a lot of work.) If you are making cookies, refrigerate for as long as possible, or even freeze the cookies in scoops and bake them frozen. This helps them keep their shape and cook more evenly.
5. Likewise, preheat your oven for a nice long time. Always put gluten-free foods into a hot oven (unless your recipe specifically indicates otherwise). Gluten-free baked goods tend to be wet and messy. Cooking them quickly in a hot oven makes sure that they keep their shape a bit better.
6. Gluten-free baking looks different than regular baking. Don't expect your batter or dough to look the same, instead expect them to taste the same. Your bread dough will be wetter, your cookie dough softer, your pancake batter thinner. Don't add more flour until it looks like you're used to, just let it be weird looking.
7. Make your dough sticky. The first choice of all bakers seems to be Xanthum Gum, but since grocery stores charge more than if it were a bag of powdered gold or cocaine (I think this is true, but have never purchased drugs OR gold) you should look into chia seeds, too. When you add water to chia seeds, they get all jellied. I've used chia seeds successfully in banana bread and unsuccessfully in sandwich bread. So experiment with it a little. Add 1/2 to 1 or 2 tsp of either xanthum gum or chia seeds to recipes to keep your dough stuck together instead of crumbly, depending on how crumbly you want it. (To use chia seeds, mix one parts seeds with two parts boiling water before mixing into your recipe.)
8. Use yogurt instead of milk and sour cream instead of yogurt.
Because these flours don't absorb liquid very well, give them some substance to help keep them from being too dry and crumbly. If your recipe calls for milk or buttermilk, thicken it up. And so on. '
9. Mix and overmix your batter:
Remember how recipes for cakes say "Don't overmix!" That's the gluten. You don't want it to "activate" and start getting too tough and sticky. But you don't have that problem anymore. Instead, make sure you mix really, really well. for two main reasons: 1. so your leavener is evenly distributed and can rise to the sky and 2. so that careful blend of flours is also evenly distributed. No one wants a bite of bean flour and then a bite of rice flour and then a bite of oat flour. Mix all that crap together.
I wanted an even ten tips, but 9 is pretty great too.
About two days after I was diagnosed with Celiacs, a friend who also has Celiacs came over. She spent an hour sitting on my couch, telling me in detail how much diarrhea I was going to have for the rest of my life. And how I could never have donuts or pasta again. Ever again.
"I don't believe that!" I said, "I'm just going to figure out how to do everything myself. My goal this week is sandwich bread."
She said (AND I QUOTE:) "Give up. You can't do it. It's impossible. All of your bread from now on is going to be terrible, just get used to the idea so you aren't so disappointed."
Um. What now?
No. You are wrong.
You guys, I am going to eat so much bread.
I am not going to give up. I am going be awesome.
It's just a learning experience. I spent years learning how to cook, and I can certainly do it again.
And for those of you who were told that you'd never eat donuts or pasta again? Buy yourself some Barilla Pasta and get your booty to the kitchen. You need these donuts immediately.
And then stick around. I'll figure this all out for myself and you can tag along.
My goal for the week is homemade french bread. Imma do it.

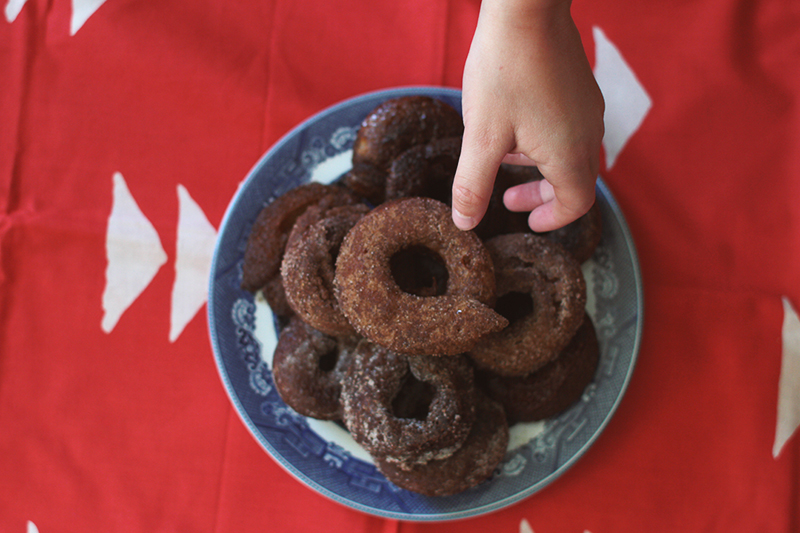
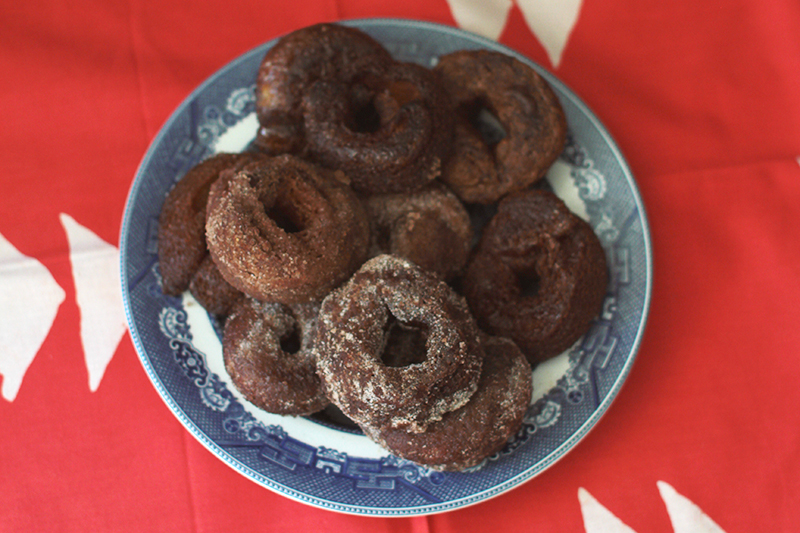
Homemade Gluten-Free Donuts:
1/4 cup butter, softened (1/2 stick)
1/2 cup sugar
3 eggs
1/4 tsp nutmeg
1/4 tsp cinnamon
1/4 salt
1 tsp baking soda
1 tsp xanthum gum
1/2 cup plain yogurt
250 grams flour (I used a mix of about two parts white rice flour, one part brown rice flour, one part tapioca flour. But use what you have. I'd suggest having about 1/4 of it be starchy. Tapioca, potato or corn starch, arrowroot, etc.)
Cream the butter. Add sugar gradually, then eggs one at a time, beating well each time. Whisk together flours and add flours and yogurt to butter mixture. Mix VERY well. (I beat mine for almost ten minutes, since I forgot to add the soda and wanted it well incorporated.)
The dough is going to be WET! So instead of rolling and cutting out donuts, pipe your donut shapes on to a sheet of parchment paper. (Use a ziplock bag with the corner snipped off.)
Freeze the entire tray of donuts until they're firm enough to pull off the paper and retain their shape. I let mine freeze/rest over night and they tasted 10 times better than the ones I cooked right away.
But if you're in a hurry and want donuts immediately, you can pipe the circles on to squares of parchment paper. You can toss the whole thing (paper and all!) into your oil.
Fry in oil at 375 degrees until brown and puffy on both sides. If you put your donuts in the oil with the paper attached, just peel it off with your tongs before you flip it. Easy peasy.
Toss those babies in the sugar, glaze or chocolate of your choice and be happy that they taste amazing and like they're full of all kinds of delicious gluten. Except that they're not.
Notes: I based this recipe on a Charlie Brown Donut recipe that we used last year to serve trick or treaters (Everyone should make these donuts on a campstove in their front yard on Halloween. Your neighbors will be SUPER impressed.)
I used a honey glaze on half, and tossed the other half in cinnamon sugar. They were equally delicious.
Glaze is from Gluten Free Girl blog, as is the idea to pipe the donuts. Thanks, GFG.
Glaze:
a squirt of honey
a splash of water
enough powdered sugar to make a thin, pastey sort of icing.
Heat over a stove, whisking constantly until all incorporated. Dip your donuts in that delicious sugar sauce.
6 comments:
We should bake together sometime so I can
1) Learn the mysteries of doughnuts, and
2) Learn tbe mysteries of gluten free baking so I can make something tasty AND gluten free for Harry Potter's birthday party.
We should bake together sometime so I can
1) Learn the mysteries of doughnuts, and
2) Learn tbe mysteries of gluten free baking so I can make something tasty AND gluten free for Harry Potter's birthday party.
Good going Becky dear! I must say I will miss your chocolate chip cookies tho.
Those doughnuts look good! Would you be willing to post the recipe for the greatest chocolate chip cookies?
Impressive!!!
Okay, you have to try this pizza crust. I found it during my whole30 and my husband ACTUALLY liked it. I wish you knew my husband so that you would know how big of a deal that is. Its flavorful and chewy and not cauliflower. (high fiving emoji)
http://zenbellycatering.com/2013/08/20/ny-style-paleo-pizza-crust-yes-really/
Post a Comment